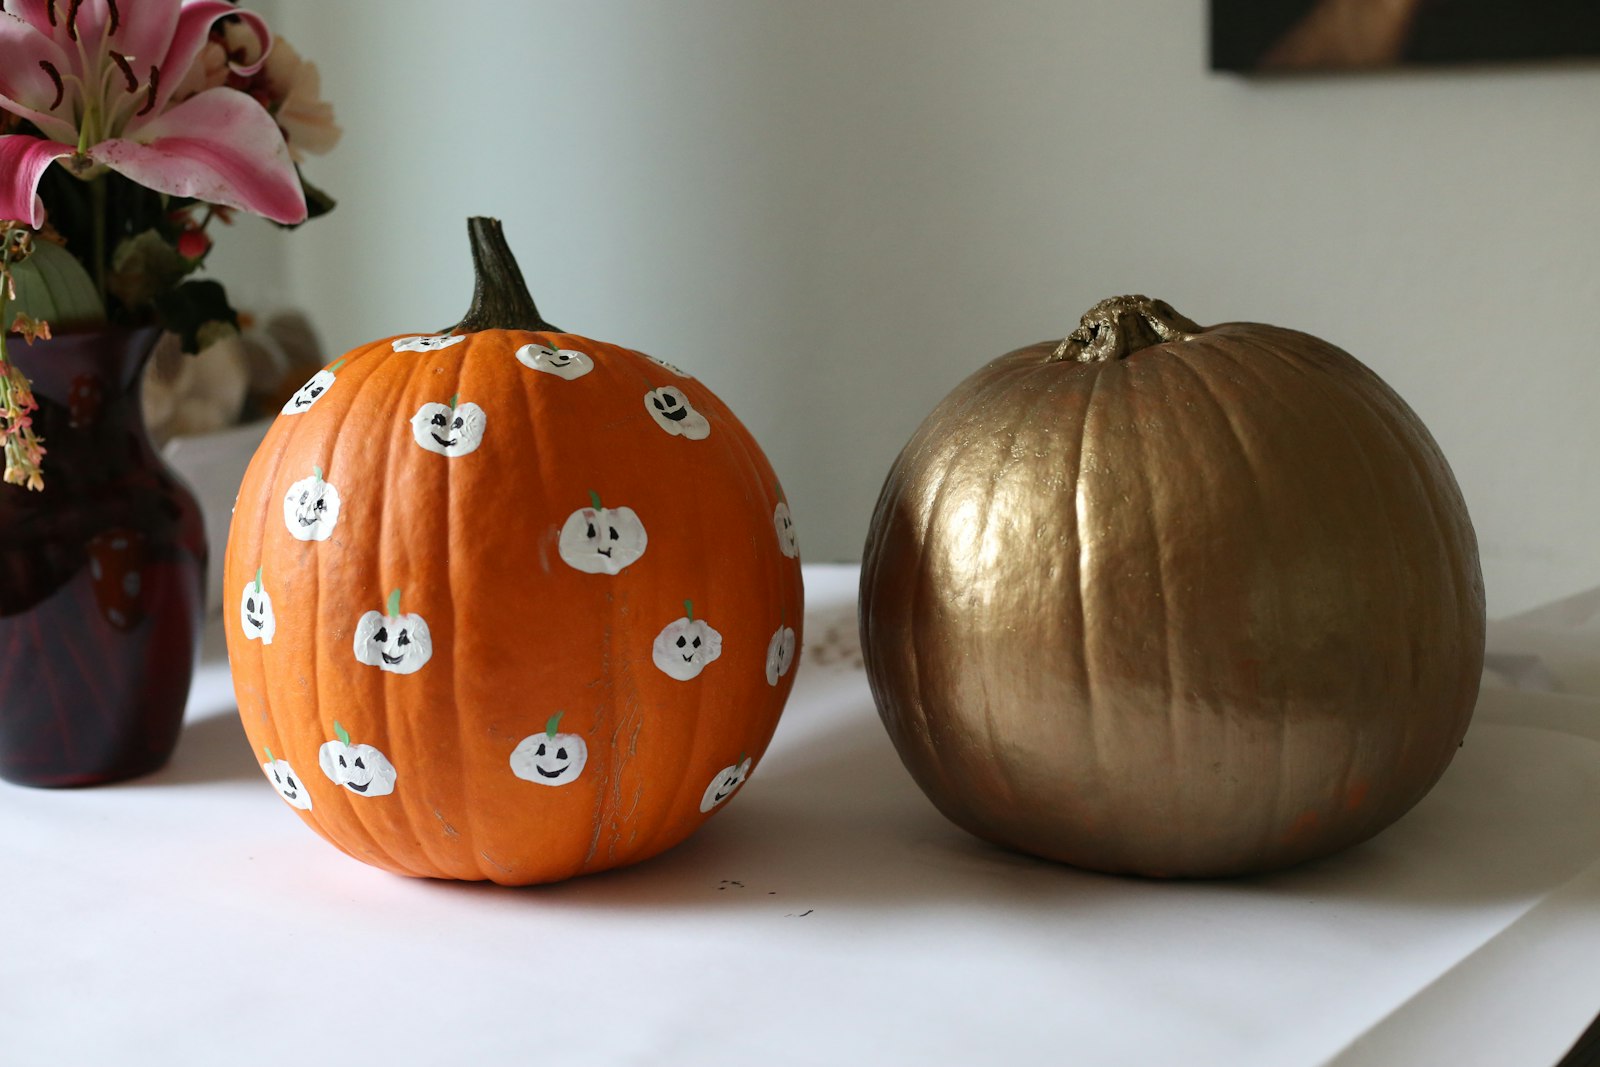
Carved pumpkins are done by the first week of November. Painted ones aren’t. A pumpkin with no cuts in it can sit on a shelf or a table for six weeks or more, which is why I’d rather paint than carve when the goal is decorating rather than a jack-o’-lantern for one night.
The other reason: if you choose your colors right, the same pumpkins carry you from Halloween straight through Thanksgiving.
Real or faux?
Real pumpkins are cheap and look right, but they don’t keep. Paint seals the skin a little, but most still go soft in a warm apartment after four to six weeks. Faux craft pumpkins (on Amazon) cost more up front and you paint them once. If you like the result, they go in a box in December and come back next year.
A good split is faux for anything indoors on a shelf or mantel and real for the front step, where the cold keeps them firm.
What you need
- Acrylic craft paint (on Amazon). It sticks to both real and foam pumpkins.
- Foam brushes (on Amazon) for base coats, and a small round brush for details.
- Metallic paint pens (on Amazon) for lettering and fine lines.
- A wipe of rubbing alcohol on real pumpkins first, so the paint grips.
Two thin coats always beat one thick one. Let the first dry fully, usually an hour.
Seven ideas, easiest first
Polka dots. Dip the end of a pencil eraser or a dowel in paint and press. White dots on orange, or orange dots on white. It takes ten minutes and looks deliberate.
Painted stems only. Leave the pumpkin natural and paint just the stem gold or white. Subtle enough for people who don’t like crafty decor.
Tone-on-tone neutrals. Paint a group of pumpkins in cream, beige, sage and soft gray. Grouped on a tray, they read as one arrangement and suit any room.
One metallic. In a group of five, paint one fully gold or copper. It catches lamp light in the evening and makes the plain ones look better.
Dipped. Paint the bottom third in a contrasting color with a slightly wavy line, as if it had been dipped. Hide the edge with a second coat.
Simple lettering. A short word in paint pen: “hello”, “boo”, “thankful”. Write it in pencil first. Script looks nicer, but simple capitals are easier to get even.
Stripes with tape. Put painter’s tape along the natural ridges, paint between the strips, and pull the tape while the paint is still slightly wet.
Making the switch to Thanksgiving
If your pumpkins say “boo”, they’re Halloween only. For decor that lasts through November, stick to dots, neutrals, metallics and painted stems. On November 1, take away anything spooky, add a few mini pumpkins (on Amazon), some dried leaves or wheat, and the same pumpkins become a Thanksgiving centerpiece.
Where to put them
Group them in odd numbers and vary the sizes. A tall one at the back, a squat one in front, a couple of minis tucked around them. On a dining table, keep them low so people can see each other. On a mantel or entry console, one tall cluster at one end looks better than pumpkins spaced out in a row.