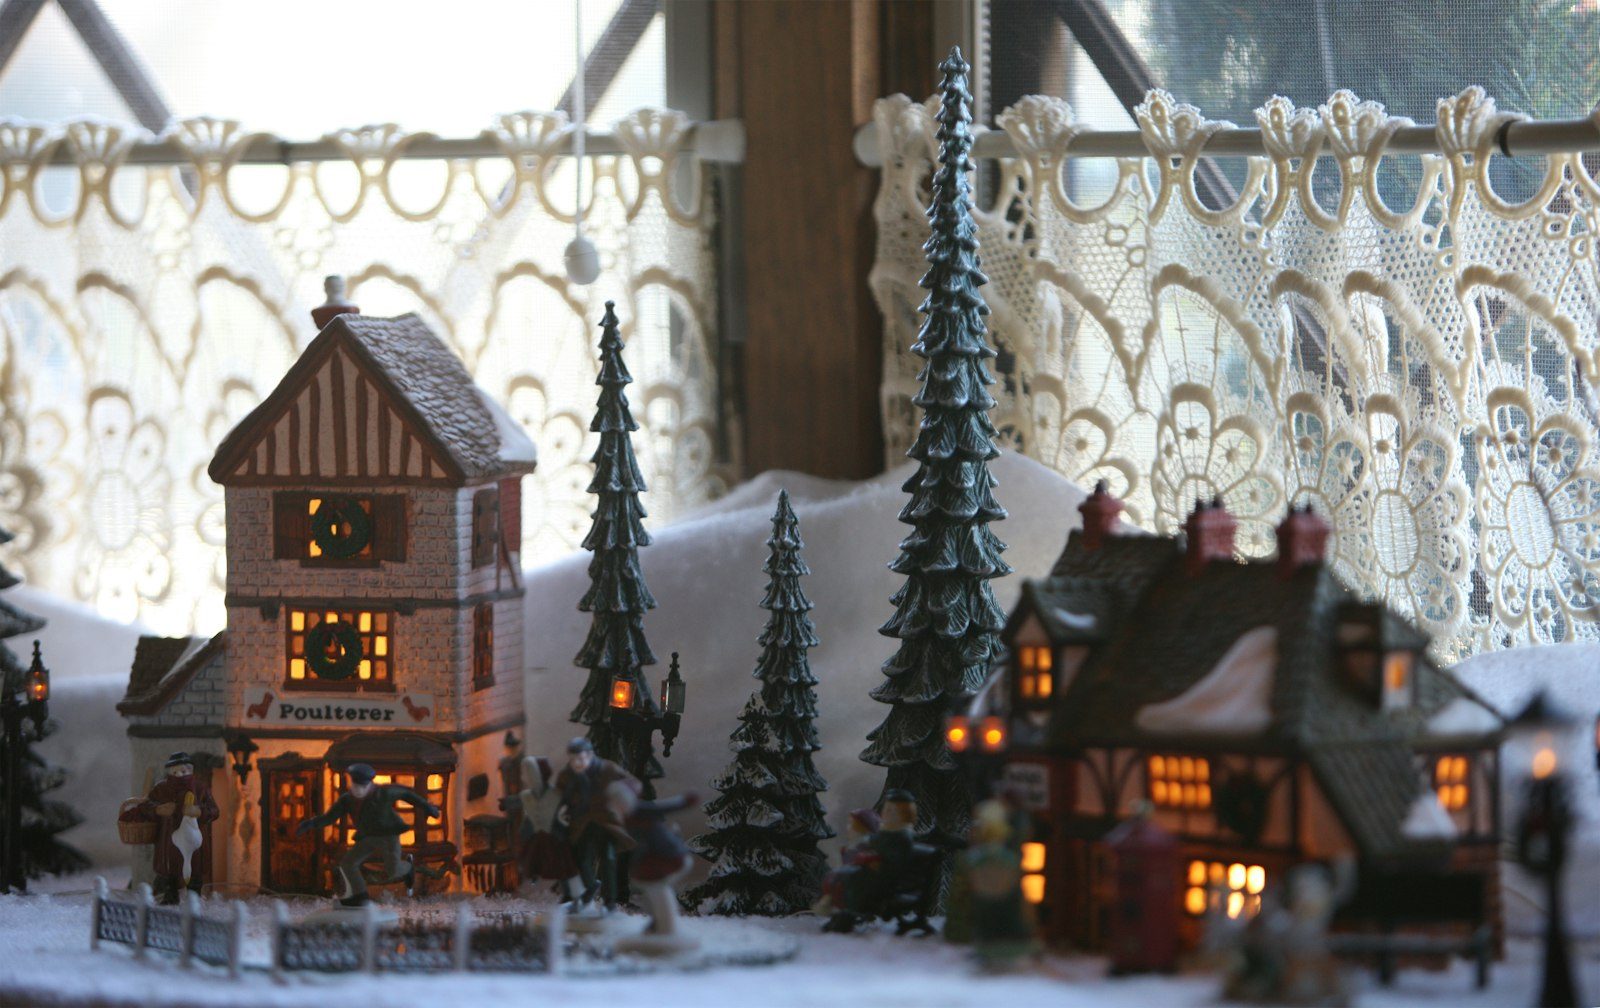
Most village collections start with one little house (on Amazon) that was too charming not to buy. A few years later there’s a church, a bakery, three lampposts and a question of where it all goes.
Places that work
An entryway console. Usually the best spot: eye level, the first thing people see, and often 14 to 18 inches deep, which is enough for two rows. Tall buildings at the back, small cottages in front, a snow blanket (on Amazon) underneath. Leave an inch or two between houses so it looks like a town with streets rather than a pile.
The mantel. Shallow (8 to 10 inches), so one row of five to seven houses in a gentle curve, tallest in the middle. Battery tea lights behind the houses light the windows with no cords showing. Keep everything a foot from any open flame. This is the spot for your favorite pieces, not the whole collection.
A deep windowsill. At night, a lit village in the window looks lovely from outside. A sill 6 inches or deeper is best. Put a silicone mat or plastic sheet under the cotton snow in case of condensation.
A staircase landing. Any flat surface at the turn of the stairs. You look down on it as you come downstairs, which is the angle villages look best from. Put a dab of museum putty under each house; stairs shake a little and the houses will wander.
A bookshelf. Clear one or two shelves and give each one a “neighborhood,” with white felt for snow and a strand of lights along the front edge. Leaving a few books in place looks good.
A sideboard. One long row with bottle-brush trees and lampposts in the gaps. Leave the middle free if you serve food from it, and use battery lights so there are no cords on the serving surface.
A tiered tray (on Amazon). For small apartments. Three to five houses per tier, cotton snow, fairy lights wound around the center pole. A whole village in less space than a dinner plate.
The hearth. The floor in front of the fireplace can take the big setup: twenty houses, a mirror tile for a skating pond, a forest of little trees. Lay a white sheet or faux fur throw as the base. If the fireplace is used, keep the village at least 3 feet from it.
A bedroom dresser. Five or six houses for you rather than for guests: the first one you bought, the one from a trip.
Taking turns. If the collection has outgrown the house, show a third of it each year. Photograph each year’s setup before packing and label the boxes A, B and C. Every December feels a bit new.
Lighting
The lights are what make a village feel like a place.
- Turn on every lit house, then weave one strand of warm-white fairy lights (on Amazon) through at ground level, tucked behind the houses. Two layers of light is enough.
- Warm white only, around 2700K. Cool white looks clinical and multicolor looks like a carnival.
- Hide the cords. Battery houses and lights are easiest. Otherwise, one power strip behind the back row with every cord running behind. A cord across the front ruins the effect.
- Put it on a timer or smart plug from dusk to bedtime, so it lights itself.
Packing it away
Ceramic houses chip easily. Wrap each one separately in bubble wrap or two layers of packing paper. Pack them in a single layer in sturdy boxes with crumpled paper in every gap; anything that can shift will. If you kept the original foam boxes, use them. Village boxes go on the top shelf, never under something heavy.
Coil the lights loosely and bag them separately; a light string tangled around a house is how chimneys snap off. Small accessories go in tissue in one padded box. Label everything. A twenty-house village takes about an hour and a half to pack properly.